Are you also a Gmail user and struggling to manage email timing effectively for various reasons? This is where Gmail’s schedule features come to your rescue.
Gmail’s schedule email feature allows you to compose and schedule emails to be sent at a later date or time of your choice. This ensures timely delivery and reduces stress over time-sensitive issues. The simplicity of email scheduling also enhances user experience and brings efficiency to email management.
In this blog, we will discuss how to schedule an email in Gmail on both mobile phones and desktops. We will also overview the steps to edit and cancel the scheduled emails in Gmail.
Let’s get started.
🔑 KEY HIGHLIGHTS
- To schedule an email in Gmail on your desktop, sign in and compose a new email. Click the blue arrow down next to the send button, choose “Schedule send,” then click “Pick date & time” to select when you want to send it.
- To schedule emails in Gmail on a mobile phone, open a Gmail app on your phone and write a new mail. Then tap on the three-dot next to the send button and choose time and date.
- People schedule an email in Gmail to send a message at a specific time for recipients in different time zones and to balance work and professional life.
Why Would You Schedule an Email in Gmail?
You would schedule an email in Gmail to ensure timely delivery, send important emails when you are offline, and align with the recipient’s time zone.
- Emailing across different time zones: When you (the sender) and the receiver are located in different time zones, you will schedule an email in Gmail to send at the right time. This ensures a convenient time for both parties (you and the recipient) and the ability to communicate effectively.
- Schedule emails for when you are offline: You might also schedule emails to send your message on time, even if you are offline. This is the benefit of scheduled emails, which means that your message reaches the recipient even when you are not available and there is no internet connection.
- You want to send your email at a specific time: You can schedule an email to send your email at a specific time or day. Emailing at the right time is essential because it ensures less waste of effort in sending emails and increases the response rate.
- You’re emailing earlier: When you are free from work and have leisure time, you might consider writing emails to make use of that time but don’t want to send them immediately. In this situation, you can schedule the date and time to send them at the appropriate time.
- You’re emailing outside of work hours: Sometimes, you work outside of working hours as per your flexibility and convenience. In this case, you can schedule an email in Gmail to send during working hours only to respect the working hours and professionalism.
How to Schedule an Email in Gmail on Desktop?
To schedule an email in Gmail on your desktop,
Step 1: Sign in to your Gmail account using the correct login credentials.
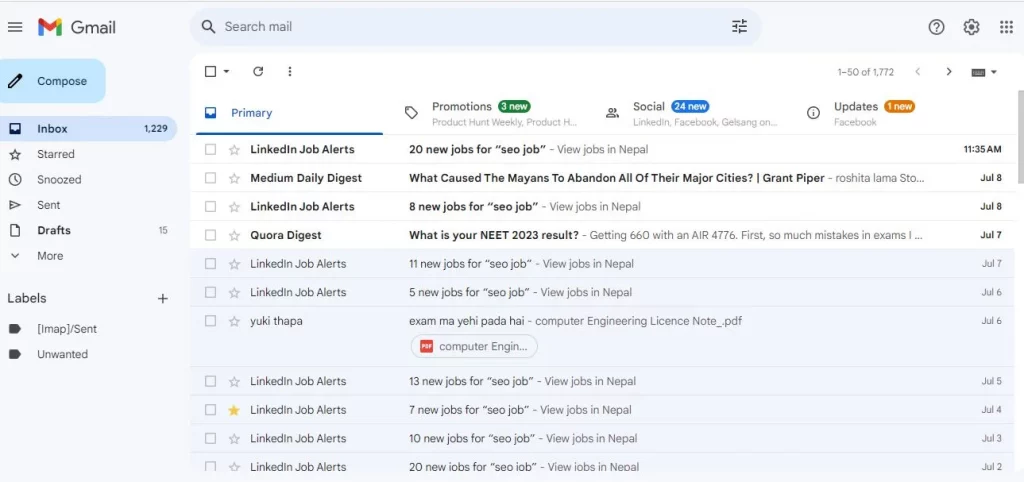
Step 2: Click on “Compose” and create new mail.
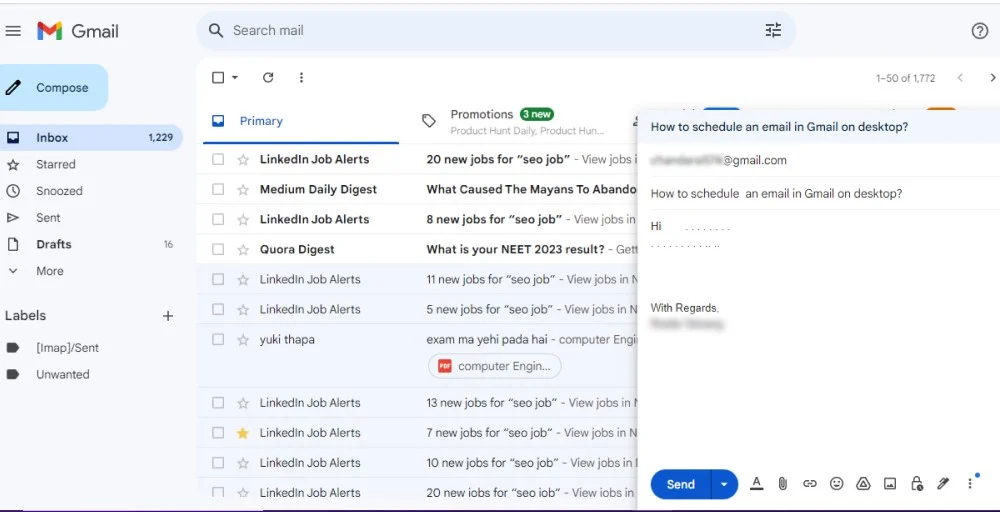
Step 3: Click the “blue down arrow” next to the “Send” button.
Step 4: Select “Schedule send” from an option.
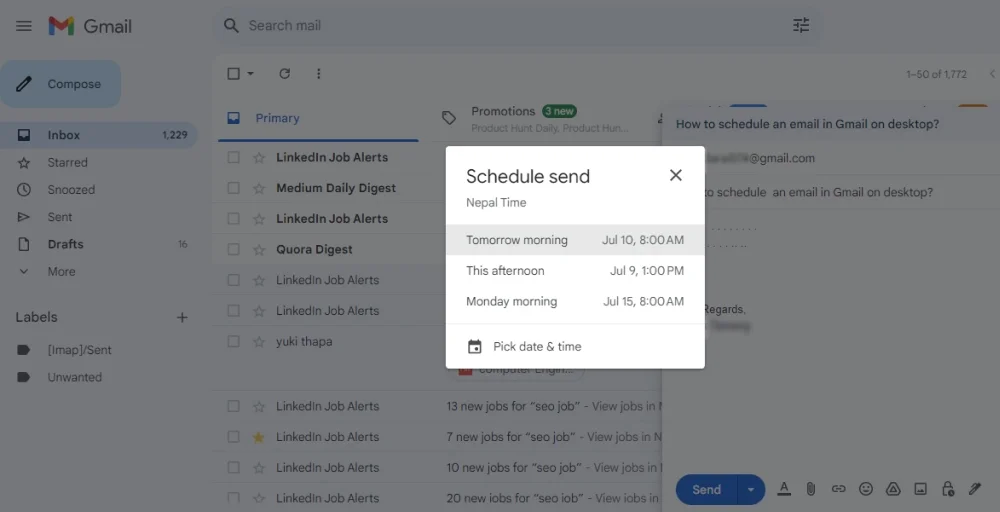
Step 5: Choose “Pick date & time.” Select the date and time.
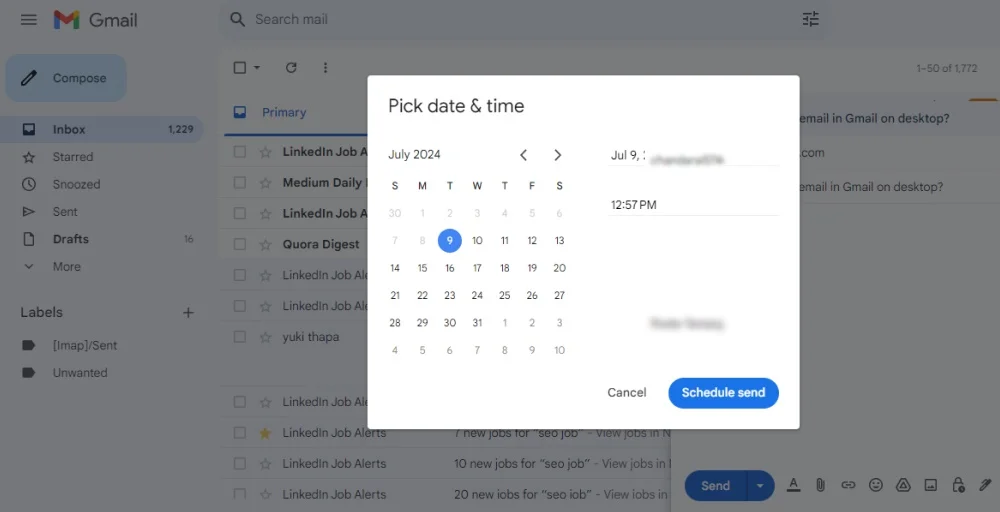
Step 6: Click “Schedule send” to confirm the schedule email.
How to Schedule an Email in Gmail on Mobile?
To schedule an email in Gmail on your mobile,
Step 1: Open a Gmail app on your mobile phone.
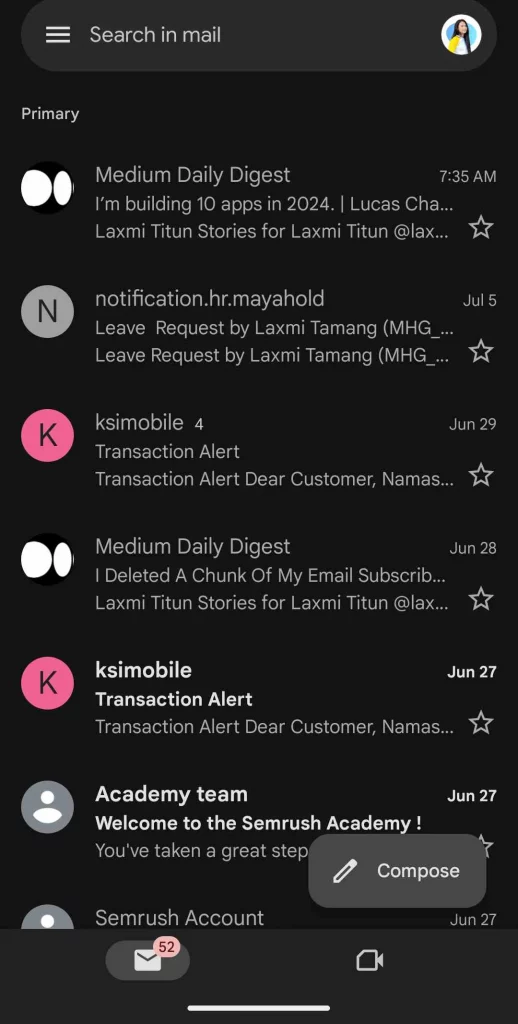
Step 2: Tap on “ ✏️Compose” (at the bottom right of your screen).
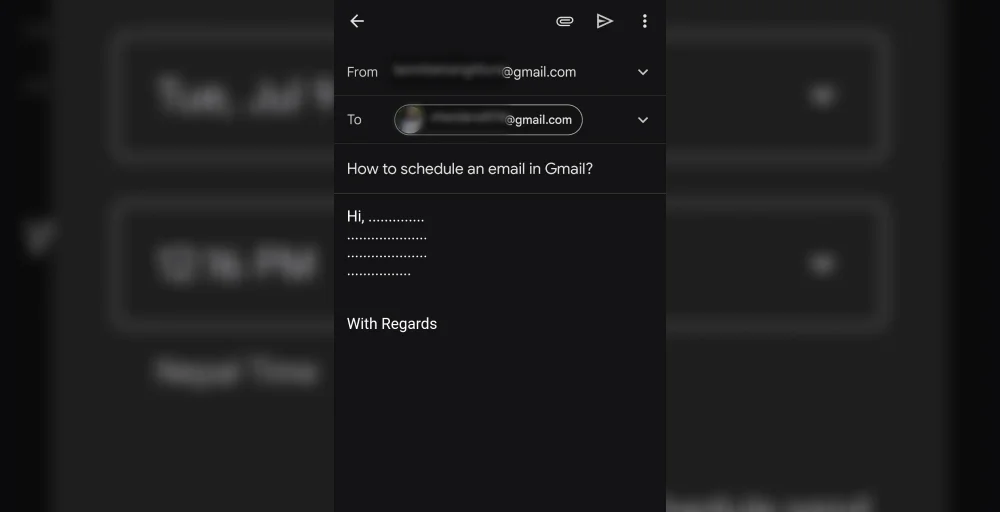
Step 3: Create your email. Tap the three-dot symbol next to the Send button.
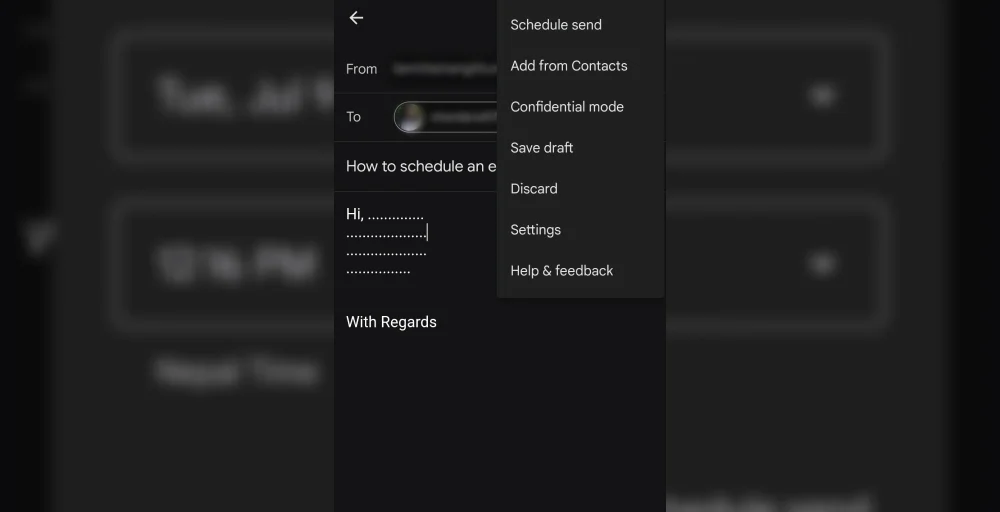
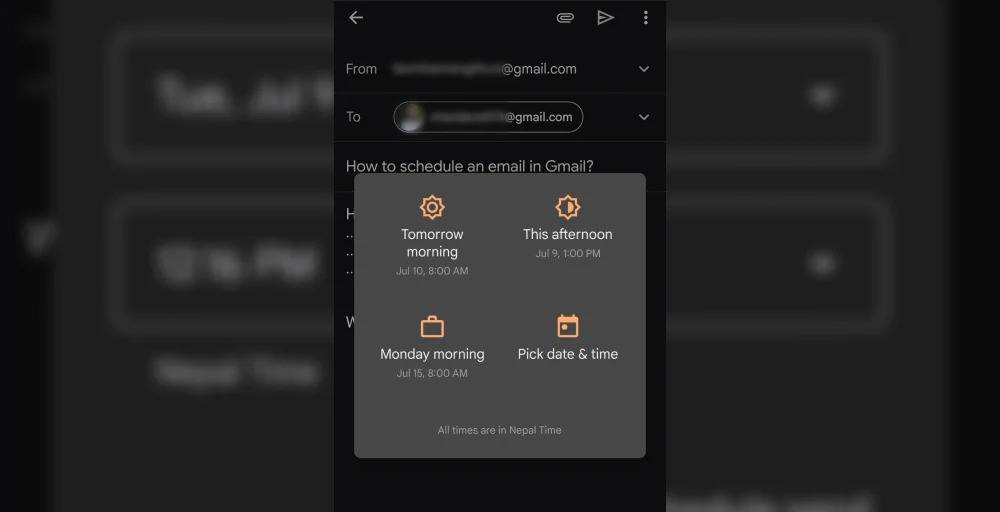
Step 4: Select “Schedule send” on your mobile phone.
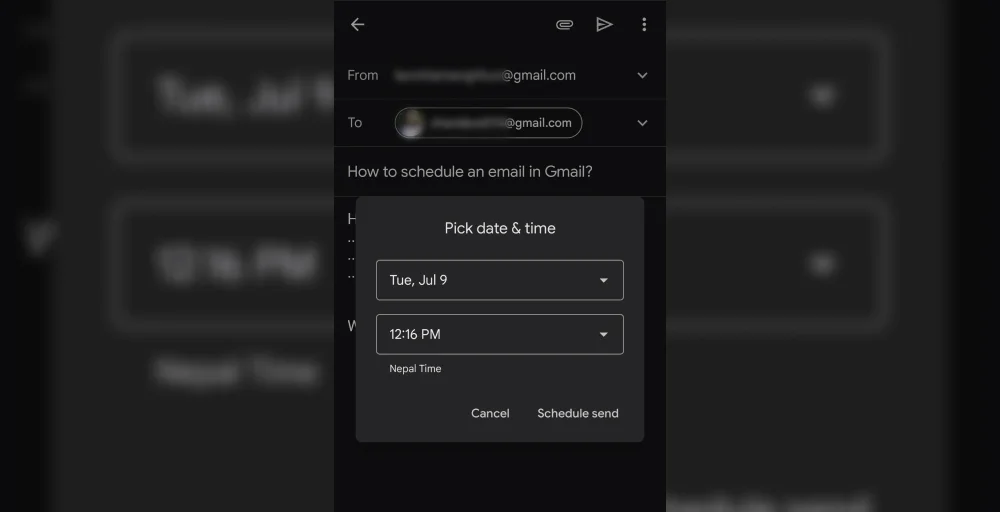
Step 5: Press on “Pick date & time.” Enter the date and time to schedule your email.
Step 6: Finally, click on “Schedule send.”
How to Edit Scheduled Emails in Gmail?
To edit the scheduled emails in Gmail or add another recipient to your mail,
Step 1: Sign in to your Gmail account.

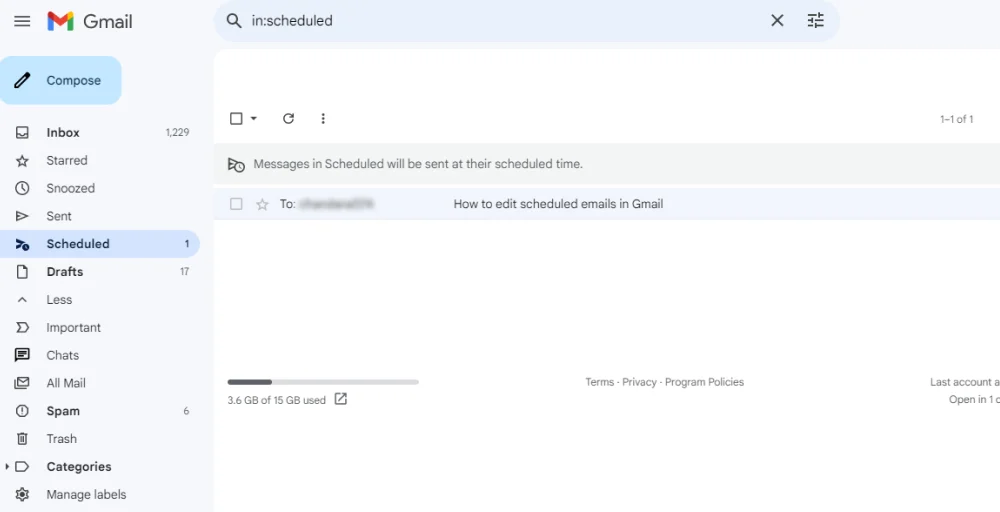
Step 2: Click the “schedule” left sidebar menu.
Step 3: Select the scheduled message file you want to edit from the list.
Step 4: Press the “cancel send” at the right of the file to open.
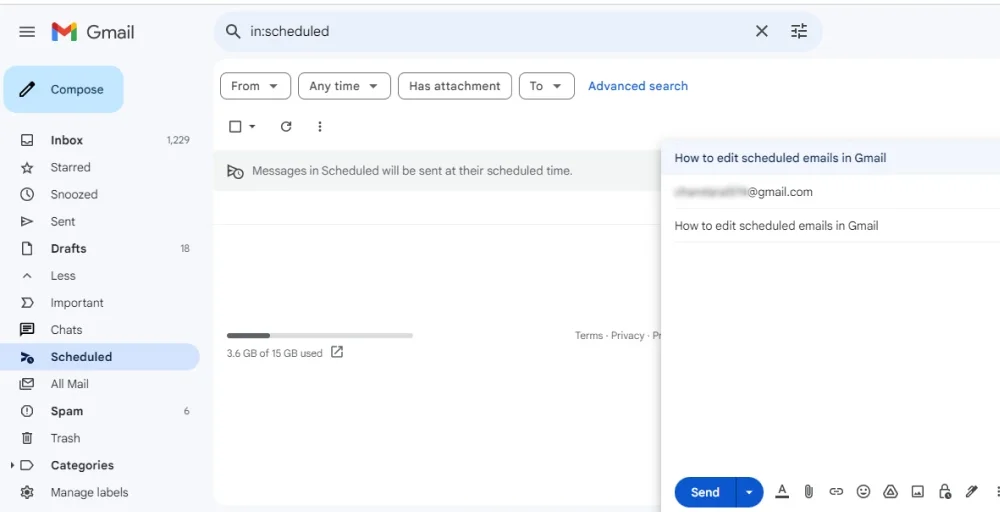
Step 5: Now, you can edit the messages, change the body, or add or remove recipients. You can also change the email signature and subject line.
Step 6: Once you are done editing, click on the send button to send the email.
How to Cancel Scheduled Emails in Gmail?
You can cancel your scheduled emails in Gmail by following these easy steps:
Step 1: Go to your Gmail account.
Step 2: Open the “Scheduled” at the left sidebar menu.
Step 3: Select the scheduled email you want to cancel or delete.
Step 4: Open the file and click “cancel send” at the right of the file. Your scheduled emails in Gmail will now be canceled.
Conclusion
Scheduling an email in Gmail is easy and enables users to manage their communication effectively. It ensures the delivery of messages at a specific time regardless of time zone differences. It allows users to send messages even if they are offline.
Schedule email features are available on both desktop and mobile phones. You can schedule an email using the schedule feature in Gmail within a few steps. To schedule an email, open the Gmail app, compose the email, click the three-dot menu next to the send button, and select schedule send. Now, choose an appropriate date and time for your mail to be sent, and lastly, click Schedule Send to confirm the scheduled email in Gmail.
Now that you’ve learned how to schedule emails in Gmail, why not give it a try? Sign in to your account, compose a new email, and use the schedule send feature to send it at a time that’s convenient for you and your recipient.
FAQ
1. Can I schedule an email in Gmail for every day?
Yes, you can schedule an email in Gmail for every day. First, write a message, then click ‘Schedule Recurring Message’ from the bottom of the Send Later menu. Select the frequency and start and end dates for the recurring emails.
2. How do I know if my email was scheduled in Gmail?
To know if your email was scheduled in Gmail,
- Open the Gmail account.
- Click the schedule tab left on the sidebar of the Gmail account.
- Your scheduled emails will appear there with the date and time.
3. Does Gmail’s scheduled send feature work offline?
Yes, Gmail’s schedule sends feature works offline. Your device can be in offline mode when a scheduled email is sent. The message will be sent at a scheduled time even if you don’t have an internet connection, are signed out of your Gmail account, or have your device turned off.
4. Why is schedule send not working in Gmail?
Schedule send is not working in Gmail because the user may not click the Send Later button after scheduling an email. You must click the Send Later button to schedule emails otherwise your emails will be in your draft folder.