You just got a new phone, but you’re worried about losing your all-important contacts and phone number. If you have a new phone and want to transfer contact numbers to it, then you are in the right place.
Transferring your phone number to a new device is a common task; whether you’re upgrading to a new phone or switching carriers, ensuring continuity with your existing phone number is essential for staying connected.
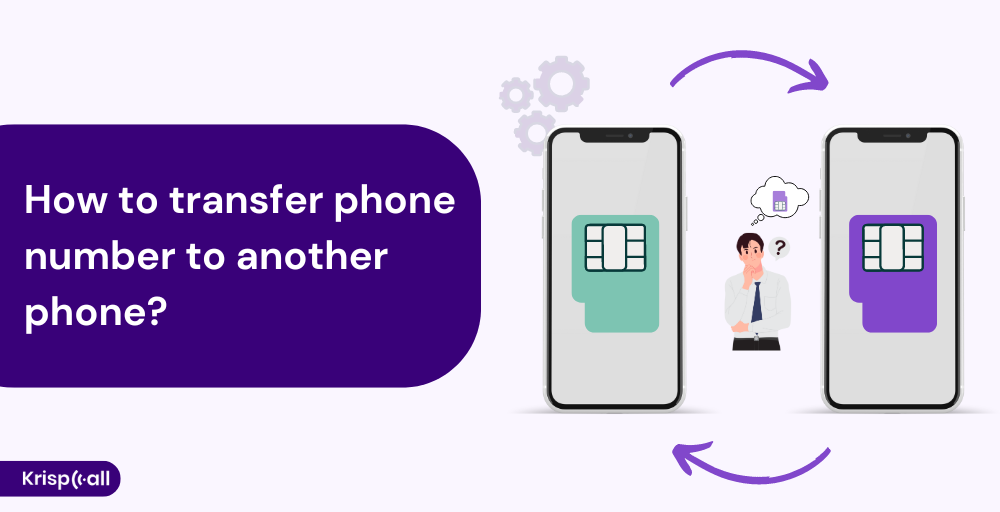
However, transferring your phone number is a separate process from transferring contacts. Here, we will focus on the useful steps to transfer phone number to another phone, also known as porting, to the new phone and cover multiple scenarios where you can be more specific.
What is Porting and Why Do It?
Number porting means taking your current phone number and transferring it to a new phone company. Similarly, it allows you to keep your phone number even if you are switching service providers.
Benefits of porting:
- Keep your existing phone number.
- Maintain call history and voicemail associated with the number.
- Avoid service disruptions.
- Porting lets you move your phone number to a new carrier.
Individuals or businesses are allowed to keep their previous telephone numbers before changing carriers to ensure that the communication channels remain active without necessarily informing all their contacts about the new number they are using.
Before you begin:
- Back up your phone: It’s always a good practice to back up your data before making any significant changes.
- Ensure an internet connection: Both phones need an internet connection for smooth communication during the transfer process.
How to Transfer your phone number?
There are multiple scenarios for transferring your phone number.
1. Contact your current carrier
Contact your current service provider’s customer service department and tell them that you want to transfer your phone number to another phone. Request a Porting Authorization Code (PAC), which is typically a 9-digit number.
When you request a PAC (Porting Authorization Code) from your current carrier, you’re giving permission to the new carrier to start moving your phone number over. It’s crucial to write down the PAC correctly and keep it secret.
2. Contact your new carrier
Contact your new carrier’s customer service and tell them that you are transferring your number. Get ready to give the information like:
- PAC Number: Code that you have received earlier from your current carrier.
- Billing Information: Your account details for your new service plan.
- Phone Number: The numbers you are transferring.
The moment you provide this information, the new carrier assumes responsibility for communicating and coordinating with the former carrier to finish the porting process.
3. Staying with the Same Carrier
Contact your phone company to see if they need you to do anything special to move your number to your new phone. Usually, just putting your new SIM card into your new phone will move your number without any extra steps.
Things to consider before transferring a phone number
- Carrier coverage: Research the coverage area and service quality of new service providers in your area. Ensure the new carrier offers reliable coverage and meets your communication requirements.
- Number Porting Eligibility: First, verify the eligibility for transferring your phone; some phone numbers are associated with certain services which may not be portable.
- New carrier features: Research the plan and features of the new carrier before transferring the phone number to another phone. Does it have everything like data allowance, voicemail, and international calling
- Fees and contracts: Always check the fees and termination process while porting. Make sure it meets your needs, and analyze how long the new contract will last.
- Backup Data from Old Phone: With your transition timeline set, take some time to back up your old phone and sync key accounts whose data will transfer to your new device
Transfer your contacts to your new phone
There are multiple ways to transfer your phone number to another phone. Whether you prefer several easy methods to transfer your all-important contact information (names, phone numbers, emails) to your new device or you prefer the traditional method or a cloud sync.
We are discussing some of the easiest ways to move your contact to another phone, and we will also share some tips that might be helpful depending on your situation.
1. Sim Card Swap
If your contacts are saved in a SIM card, you can easily move or copy them allow them to be accessed from an alternative device. However, only a certain number of contacts can be saved in a SIM card. You may be limited to 200-500 contacts depending on the type of SIM card and how your phone stores its data.
One of the best ways to move contact number offline from one phone to another is through shifting it using a SIM card. To start with, you should confirm the SIM slot in advance; some of us have а little sims in their phones while others do not.
Note: This method only transfers basic contact information like names and phone numbers; it won’t transfer emails or any custom notes.
Benefits
- Simple and offline method, no internet connection required.
- Potentially useful if switching between basic phones without alternative transfer options.
Limitations
- Limited storage capacity
- Not universally compatible, some phones might not have SIM card contact storage capacity.
2. Share contact over Bluetooth
Bluetooth is another excellent alternative and quick method for sharing contacts and numbers. It does not require any internet connection; you can share the contacts directly between two phones without any mediator. Here are the simple steps to share your contacts over Bluetooth:
- Turn on Bluetooth: First, turn on the Bluetooth of both devices. You can do this by going to the phone settings or pulling down the screen from the top and tapping the Bluetooth icon.
- Select Contacts: Open the contacts app on your phone and select the contacts you want to send through Bluetooth. You can tap and hold on a contact to select it.
- Share Contacts: After selecting the contacts, tap on the menu button (which is usually three dots) at the top of the screen. Then, choose the “Share” option.
- Choose Bluetooth: When the sharing options pop up, select “Bluetooth”. This will let you send the contacts using Bluetooth.
- Connect and Send: Your phone will show a list of nearby devices. Choose the device to which you want to send the contacts. Then, on the other phone, accept the incoming Bluetooth request to receive the contacts.
3. Cloud-based service
Another alternative is to use a cloud-based service like Google Sync. Add the same Google account to the other phone, and contacts will automatically sync. Here are the simple processes to transfer the contact list from one device to another.
- Set up a Google account: Make sure you have a Google account or create one.
- Sync Contacts: On your old phone, go to settings, go to add accounts, and enter the same Google account that is used on your old phone.
- Sync Contacts on New Phone: When the Google account is added, ensure the contacts sync options are enabled. After that, your contacts will start syncing to your new phone.
- Check the Contacts: Open the contact list from your phone to confirm that all your contacts have been transferred successfully.
4. Use a Third-Party App To Transfer Contacts
You can use third-party apps to transfer contacts via Wifi or Bluetooth. If your phone supports nearby options, there is no need for the third-party app; however, if it doesn’t, using a third-party app can be a fast way to transfer contacts, offering additional features as well.
To use the third-party app, download and install it on both phones, granting the required permissions. The app will ask you to connect via Wi-Fi or Bluetooth; some also offer a QR code. Access this on both phones and connect with each other.
- Establish Connection: After connecting the phones, tap on “Transfer to [phone name]” on the phone with the contacts you want to transfer.
- Select Contacts Only: On the screen that appears, deselect all other types of data except for contacts.
- Continue Transfer: Once you’ve selected contacts only, tap on “Continue” to begin transferring the contacts.
- Note: Remember that the some app does not offer the option to choose specific contacts, so all contacts stored on the phone will be transferred.
Conclusion
Transfering your phone number to a new phone is also known as porting, which helps you to keep your existing number even when switching carriers or upgrading devices. Remember to contact your new carrier for the PAC code from the old number. Also, do some research about covering plans and features to make sure that they meet your needs.
Cloud services like contacts offer a reliable solution. Bluetooth sharing is an option; however, it can be less efficient.


